Connecting to WPA2 Enterprise even if Android doesn’t officially support it.
There isn’t a lot of documentation on this for Android so I thought I would make a step-by-step how-to.
Here’s how to connect your Android phone to a WPA2 Enterprise wireless network.
Click on any of the pictures to enlarge them.
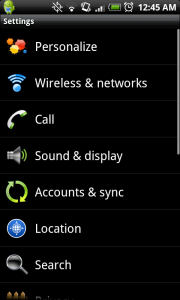
Step One: At main screen hit the menu button and select settings.
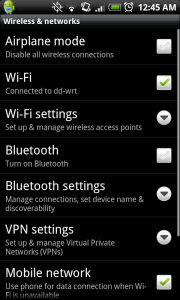
Step Two: Select “Wireless & networks”
Step Three: Select “Wi-Fi settings”
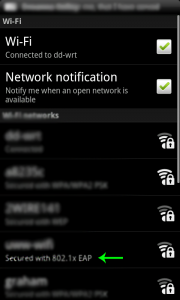
Step Four: Select the network desired. Notice it doesn’t explicitly say WPA2 enterprise wireless network.
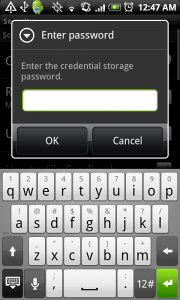
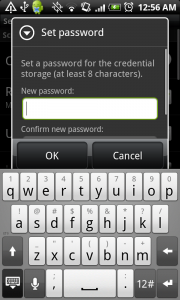
Step Five: You may or may not get a dialog box asking for credential password. If you already have a credential password enter it now. If you don’t have a credential password create one. If it asks you for a WEP key don’t be discouraged enter any WEP key then hit enter. You will either be prompted with the credential box or the info in step 6 screen shot.
 |
 |
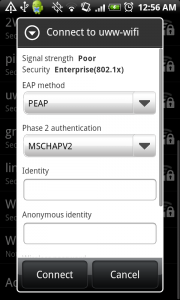
Step Six: If it asks you for a WEP key don’t be discouraged enter any WEP key then hit enter. You will be asked for EAP method, Phase 2 authentication, Identity, Anonymous Identity, and wireless password. In order to find which settings are accurate you could either play with settings until it works or you could use an already connected laptop to find EAP method and Phase 2 authentication. The identity field is same as username, but you should put your domain name first then “\” without quotes. For example mine might be xyz\nick if my domain name was xyz. Leave Anonymous identity blank and wireless password will be the password for your username.
If you have any questions feel free to leave a comment or send me an email at [email protected]!
